Basics
The Creality Ender 3 is a 220mm x 220mm x 250mm 3D printer. We have two machines which are only being used with PLA filament at the moment. If you are looking to order filament for the printer, we use 3D Solutech brand or Overture (previously Amazon Basics) 1.75mm PLA.
If you have never used a 3D printer before, please watch these videos on how they work and how to make printable files:
- Getting Started with 3D Printing using ENDER 3
- 5 3D Printing Mistakes you WILL make - and how to avoid them! 3D Printing 101
- Complete beginner's guide to 3D printing - Assembly, tour, slicing, levelling and first prints
Preparing Cura Software (First Time Only)
If you want to prepare your model from home or from your computer for the first time, you will have to follow these steps to get the software set up:
- Download and install the newest Utilimaker Cura slicer software. You can install using all the default settings.
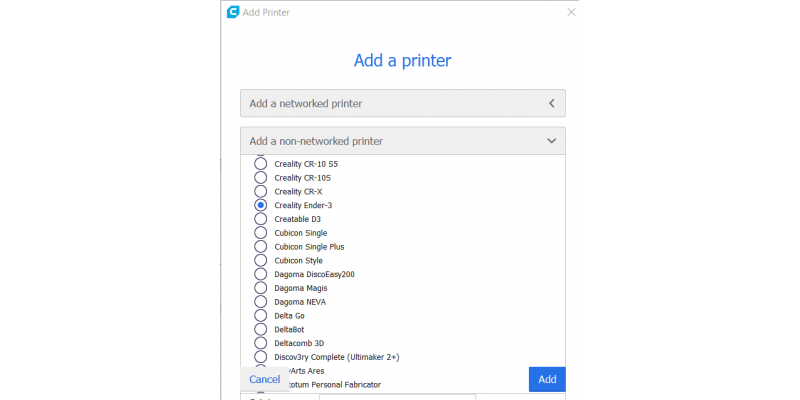
- Set Cura up for the Ender. When adding the printer, select Add a Non-Networked Printer, and under the Other dropdown, select the Creality Ender-3 and click Add. That's all that's needed!

Preparing a Model
By default, Cura uses draft resolution of 0.2mm, 10% infill, no supports, a priming line on the side of the bed, and a three-pass skirt around the print model. You can change several of the options by clicking on the top right-hand bar and changing the quick settings. It is suggested that you do not change any settings in the Custom section unless you are very familiar with how printing works. 
Printing
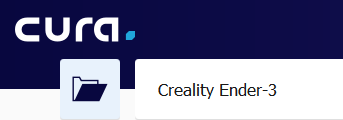
- Load your model by clicking the folder icon and choosing your model

- Check your model for printing issues. For important tips on preparing models, check our general printing tips page.
- After changing any settings, click on the Slice button below to create the gcode file that the printer can use.
This process make take a second or it could take 5 minutes. Be patient and when finished, Cura will show you a estimated time it will take to print, the amount of filament it estimates your print will use, and options to preview the slices and saving the gcode file to your computer. Take a minute to view the preview to check for any issues that might pop up when printing. You can move through the layers by click-dragging the right hand bar's top point down and up. You can also see a printing preview by clicking the play button next to the bottom bar or click-dragging through that bar.
- Click Save to file and save that gcode file where you can find it
- You can either save this file to a micro-SD card, or bring the file in and transfer it to the printer's micro-SD card. The card slot on the printer is below the print bed.
- With the micro-SD card in the printer, turn on the printer with the power switch on the right hand side towards the back.
- Make sure the bed is free of plastic from previous uses and is attached to the bed. Make sure that the clips are attached as shown in the image.
- The knob on the printer turns to select and presses in to select. Press it in once and scroll down to Print from TF. This will show the files on the micro-SD card. Select your file and the printer will automatically heat the bed, heat the extruder, home the printer, and start printing.